Creating classifications in Microsoft Money
To create classifications (see
Article 189), you will need to go
to your Accounts. On the Account Tools menu, you will have a 'Categories and Payees' option. (Banking ->
Account Tools -> Categories and Payees)
You will notice that in the left hand side of the window,
there are 'Classification 1' and 'Classification 2'. Select one of these, and put in the name of the classification,
or select a predefined one.
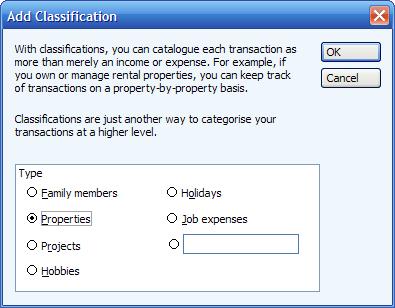
Once you have defined the name of the classification,
you can create a Class or Subclass. This is in a very similar way to creating categories and subcategories.
Press the 'New..' button at the base of the page to get started.
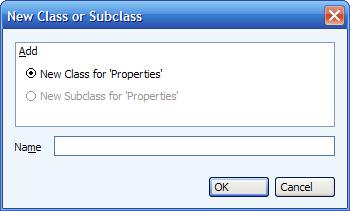
To create a
subclass, the instructions would be the same, except you should first select the class you wish to expand
with the subclass, and then press 'New'.
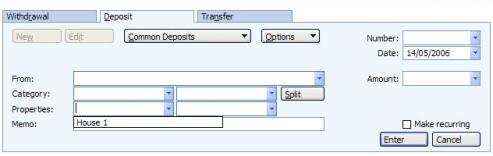
In the example below, I have created a new class called
'House 1', and selected it in a transaction form. Notice that the label to the left of the dropdown shows
the type of classification, which was selected to be 'Properties' in my example.
Classifications are very useful for subdividing data up in a different way to categories.