Using the Microsoft Money repair (salvage) tool
Recent versions of Microsoft Money have the repair options on the File-> Menu in the product itself (see
Article 22 for more repair information). Earlier versions require a separate program to provide the more 'deep' repair option.
This file can be downloaded from the
patches page (under the Microsoft Money 2000 section).
When you have extracted the program by double clicking the .EXE file, you can run the program by clicking on the 'salv.exe' program which is in the download.
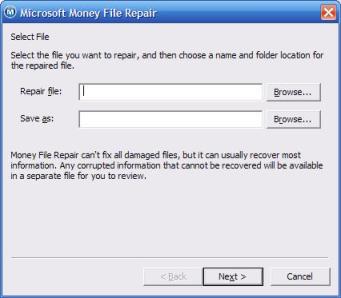
The first window you see is shown below. It allows you to select the file to be repaired, and the name of the repaired file. Note that you must choose distinct names, as the repair tool will not overwrite the existing file. This is good practice anyway, as you automatically get a backup of the file.
The next window allows you to select the type of repair you wish to do. There are two levels - standard repair and quick repair. The utility recommends the standard one first, although I'd recommend the less potentially destructive 'quick' repair.
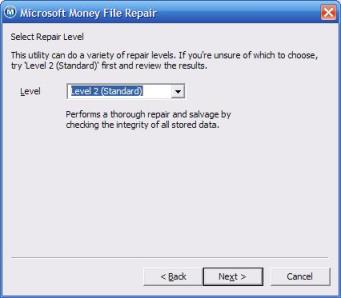
The level 1 - quick repair - option performs small corrections to the file (this is the same as using the '-s' option on the Money file, as shown in the referenced article above). The level 2 - standard repair does a more thorough job of checking the integrity of your file, but has been known to introduce errors. If your file is inoperable, then this may allow you to get your data accessible, and allow you to get it out into a new file.
When you've selected the type, click next, and, after reviewing your choices, select 'Begin Repair'.
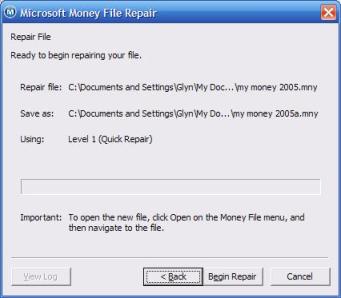
If you have a password on the file, you'll be prompted for it. And once the repair has finished, you'll get the option to view a log of the results.